
Save time batch editing photos in Lightroom
Lightroom is one of the best tools a photographer could use for their work. Aside from its comprehensive photo processing capabilities, Lightroom’s other functions can help a user save time with post-processing.
One of these functions is the ability to edit multiple photos at once. This so-called “batch editing” isn’t the simple application of the same filter or preset to a group of photos. In theory, it’s the same thing as applying a filter to a bunch of photos because you’re applying the same edit and settings.
The difference is that Lightroom allows for a much more intricate and personalized post processing experience. This article will show you the different methods and applications for batch editing in Lightroom.
Edit Multiple Photos At Once
There are many ways to do batch editing in Lightroom. Some methods offer the quickest way to post process a batch of photos while others give you more flexibility and the ability to see real-time adjustments.
The first method is simply performing a “copy-paste” action to your photos. The first thing you have to do is to edit your first photo manually. Edit the basic tones, color, split-toning, and other aspects as much as you like. Once you’re done, click “Copy” on the lower left area, under the Develop tab:
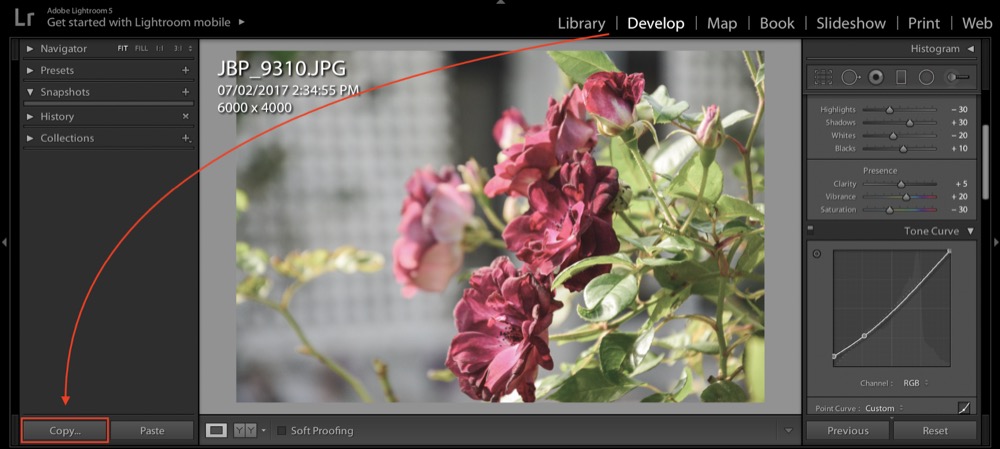
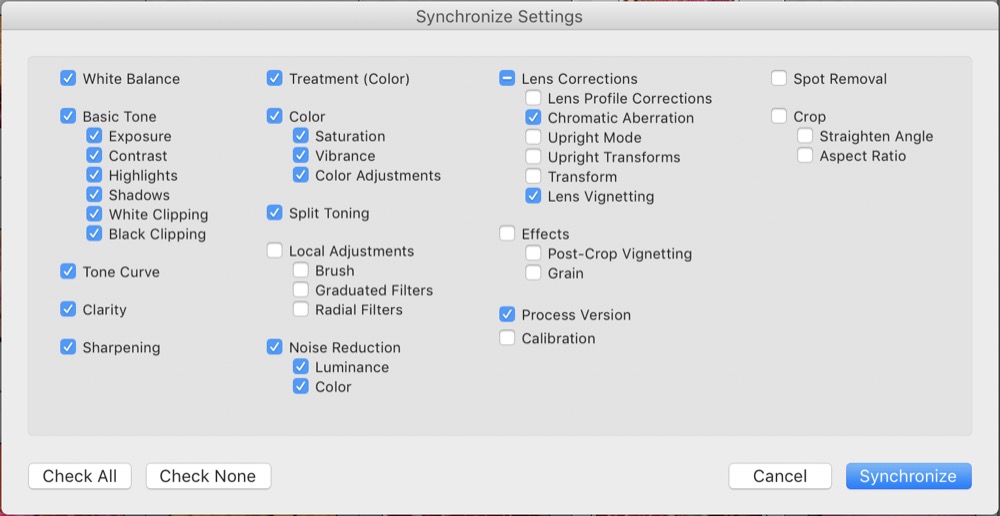
It’ll bring up a list of settings that you can copy from your current highlighted photo to others.

Select or deselect the settings that you want to be applied on the other photos. Once you’re done all you have to do is to highlight the photos you want the same edit to be applied on (hold ctrl/cmd and select the photos).
After selecting all the photos you want, simply click “Paste” and you will see the changes almost instantly. Alternatively, you can use the universal copy and paste shortcuts (Ctrl/cmd+C and ctrl/cmd+V) and you will achieve the same effect.
Another way to do batch post-processing is using the synchronize settings available in Lightroom. Like in the Copy and Paste method, finish editing the first thing you do is to edit the first photo. For this method, it’s very important that you edit the photo that is chronologically the first one that appears when you look at the enclosing folder in the library.
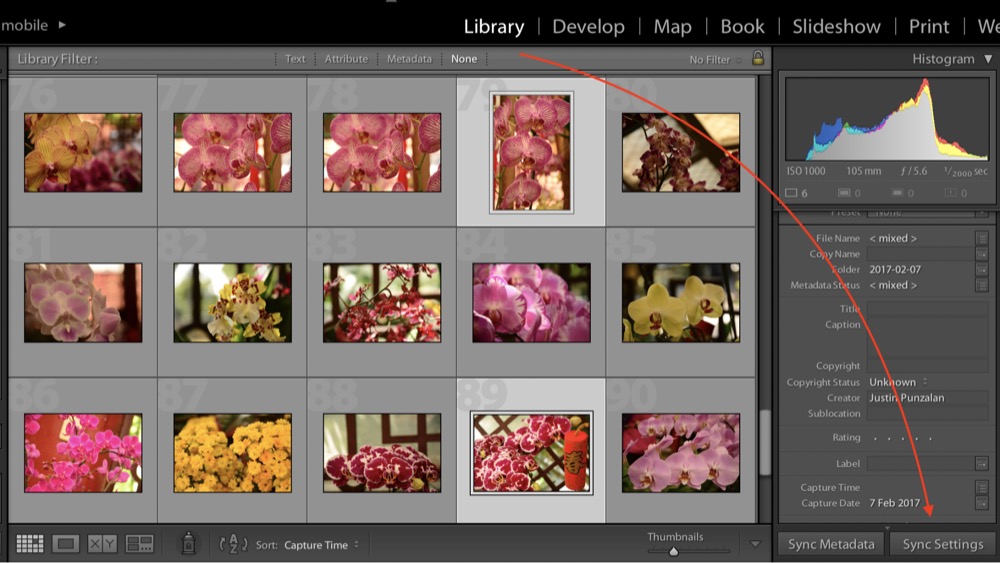
After doing all your initial edits on the first photo, go back to the Library tab and highlight all the photos that you want the edit to be applied to. When you’re done selecting, click the “Sync Settings” button and a pop-up window similar to the one in the Copy and Paste method will appear.
Select which settings you want to synchronize. After synchronizing, all photos will follow your edit of the chronologically first photo. Take note that in this method if you have made edits on some of the photos that you selected, they will be overwritten in favor of the first photo.
For example, your library is sorted by filename A to Z. You made different edits to jpg1, jpg2, jpg3, and jpg4. When you synchronize, all images will follow the edit made to jpg1. For a library that’s sorted by filename Z to A, images that are synchronized will follow the edit made to jpg4. Keep this in mind when using this method.
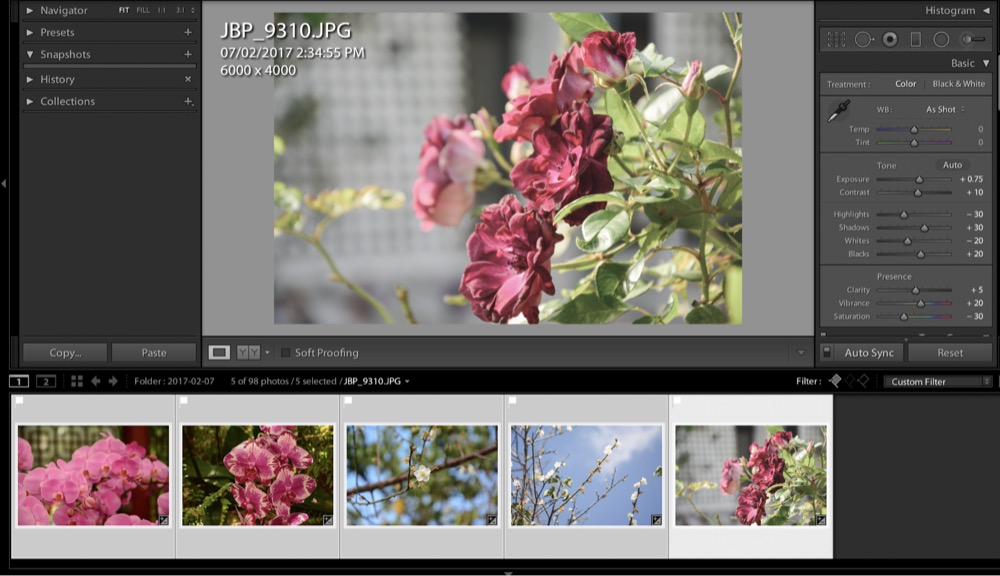
The last method you can use is to use the Auto Sync function that Lightroom offers. In the Develop tab, you can find it beside the Reset button. It replaces the Previous button and only appears when multiple photos are selected. Make sure that the button is flicked up, like in the screenshot, for the method to work.

Unlike the previous two methods that apply the final edit to the selected photos, the Auto Sync feature works in real time. Select your desired photos and make sure the Auto Sync feature is active. When you make edits to your current photo you can see that it gets applied to the other selected photos as well. Decreasing or increasing the basic tones, or altering the tone curve will be applied to all the photos.
It works best if you flag your photos, filter the non-flagged photos, and increase the thumbnail size. This way you see all the photos get edited in real time. Take note that while it’s still a convenient and quick way to edit multiple photos, it is essentially “slower” than the two previous methods.
The more photos you select, and the more edits you do, the more time it takes Lightroom to process it. There will be a lag time of a few seconds if you select too many photos to edit at once.
Final Adjustments
Batch editing is easy to understand and execute. Its many forms reduce the time spent post-processing all the photos. Not only does it save time, it all also helps keeps the theme of your photos consistent. This is incredibly helpful whether you’re a professional photographer that’s trying to meet a deadline or just an enthusiast that wants to show the best vacation photos possible.
While batch edit saves time, it’s not an excuse to be sloppy with your work. It’s still important to manually go through each picture and make minor adjustments to make sure they’re perfect. Even if all your photos were taken under the same camera settings and environment, you’ll find that going through each picture after batch processing is still essential to get that perfect edit for each photo.
Make your batch edit your starting point, manually check each photo and do final adjustments. This way, you save time and keep the quality of your photos consistent and excellent.
Leave a Reply