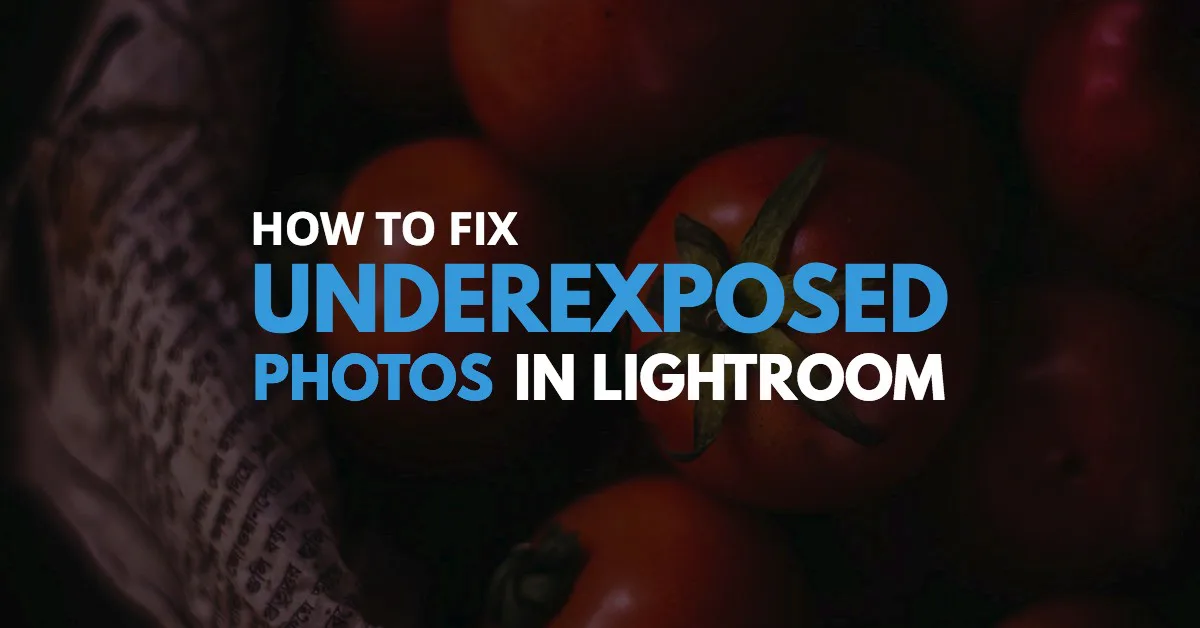
Lightroom is a fantastic tool that you can use to quickly and easily fix underexposed photos. Whether you’re a beginner or advanced photographer, one of the most frustrating things you can encounter is taking a fantastic shot, but then realizing later that it was underexposed.
The good news is, many underexposed images are easily fixed with Lightroom. Of course, you can have images that are way too dark to salvage using Lightroom (or Photoshop), but the majority of your pictures that are a little bit underexposed will be easily fixed with some simple Lightroom adjustments.
In fact, one of the reasons why it’s so important to shoot in raw is because you can salvage underexposed photos much more easily than if your camera was spitting out jpegs.
The reason is that when you shoot and raw, the camera captures much more information and you’re able to draw out once more detail when editing the photos.
This tutorial will guide you on how to fix underexposed photos in Lightroom.
Steps to fix underexposed photos in Lightroom
https://gfycat.com/UnpleasantMintyHapuka
Your exposure slider will do the bulk of the work. Once you increase the exposure to your liking, you can then get into the nitty gritty details of fixing an underexposed image by using the other 3-4 sliders in lightroom’s basic panel.
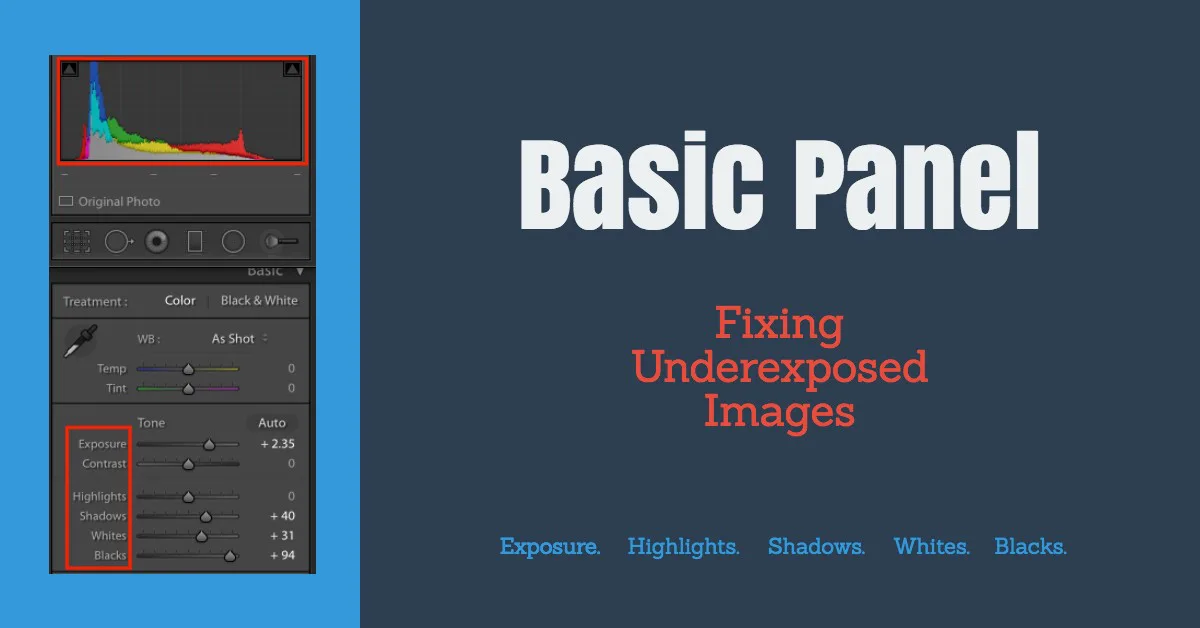
5-6 key global adjustments
Though you can fix an underexposed image with just the exposure slider and the shadows slider, I tend to use almost all the sliders in the Basic panel in Lightroom. For underexposed photos, I’ll usually use Exposure first, then just go down through the rest.
After exposure, I’ll target highlights, shadows, whites, and then blacks. Also, sometimes I will adjust the contrast depending on the image and if I want it to pop a little bit.
- Exposure
- Highlights
- Shadows
- Whites
- Blacks
- Contrast (may help lightening up an underexposed image, but not necessary)
1. Exposure slider
When fixing an underexposed picture, you will want to move you exposure slider to the right.
The exposure slider is a good place to start, as this slider will adjust the overall exposure of the image. It will usually target the brightest and darkest areas of an image.
You can think of this as the equivalent to setting the correct exposure on your camera using ISO, Aperture, or Shutter Speed. More specifically, the exposure slider adjusts the mid-tones of the image.
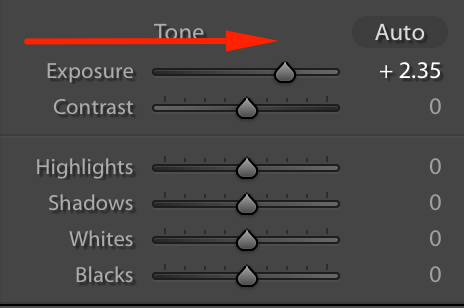
The exposure slider should be used carefully. If you go too far to the right or left, you will end up with an overexposed or underexposed image very quickly. Just use sparingly and don’t go overboard. You can use the rest of the sliders to perfect the image.
When you slide the exposure slider to the right, you will brighten up an underexposed photo. When you slide it to the right, it will reduce the brightness of an image.
Fixing underexposed photos example images


Tip: If you want to learn more about the histogram, take a look at how the histogram changes as you slide each slider left and right. You will begin to get a better feel for how each basic panel slider in Lightroom affects the histogram.
See how the histogram changes from left to right as you slide the exposure slider?
2. Highlights slider
When the exposure slider is not enough, the highlights slider comes in. If you want more detail in the highlights, you can slide the slider back and forth until you are happy with the look. You can either look at the histogram or do it by feel.
I tend to just do it by feel, as this is most comfortable for me. I feel like my eye is better than anything else for telling me when a photo looks good.
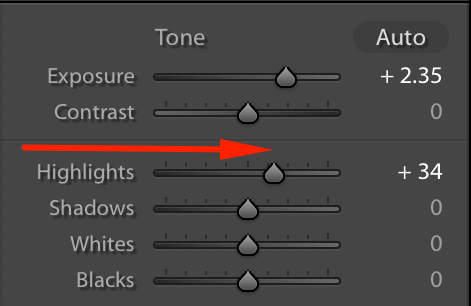
Be aware that if the image has parts that are really black or blown out, you won’t be able to do much with this slider. It needs some detail to work with in the first place.
Fixing underexposed photos with highlights slider – example images


3. Shadows slider
The shadows slider targets the dark parts of your photo. If you want to fix an underexposed image, slide the shadows slider to the right, just like the exposure slider.
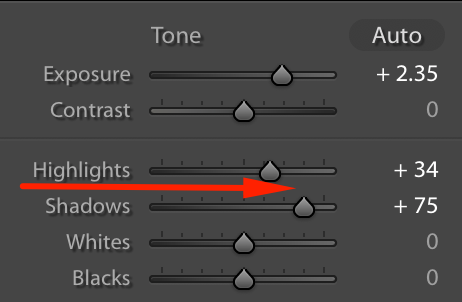
The shadow slider essentially has the opposite effect of the highlights setting because it targets the other end of the histogram. Where the highlights slider changes the mid-tones on the right, the shadow slider changes the mid-tones to the left.
Fixing underexposed photos with shadows slider – example images


4. Whites and Blacks sliders
The white and black slides change the outer left and right edges of the histogram, similar to the highlights and shadows. However, since it is targeting the very edges of the histogram, it is going to give a little bit different effect when editing your under exposed images.
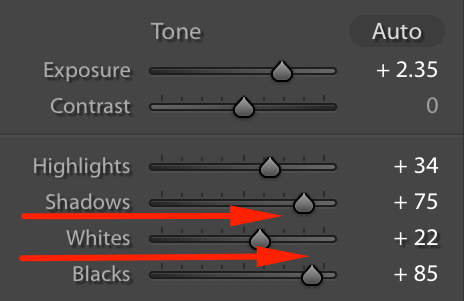
One thing to note about the blacks vs shadows is the blacks can have a drastic effect on your pictures compared to the shadows, so you should be careful how much you change the blacks slider.
If you pull it all the way over, for example, it may make your photo look way too dark in the black areas. Whereas if you move the shadows all the way over to the left, it is much more subtle than the blacks slider.
Fixing underexposed photos with Whites & Blacks sliders – example images


5. Final result of fixing an underexposed photo
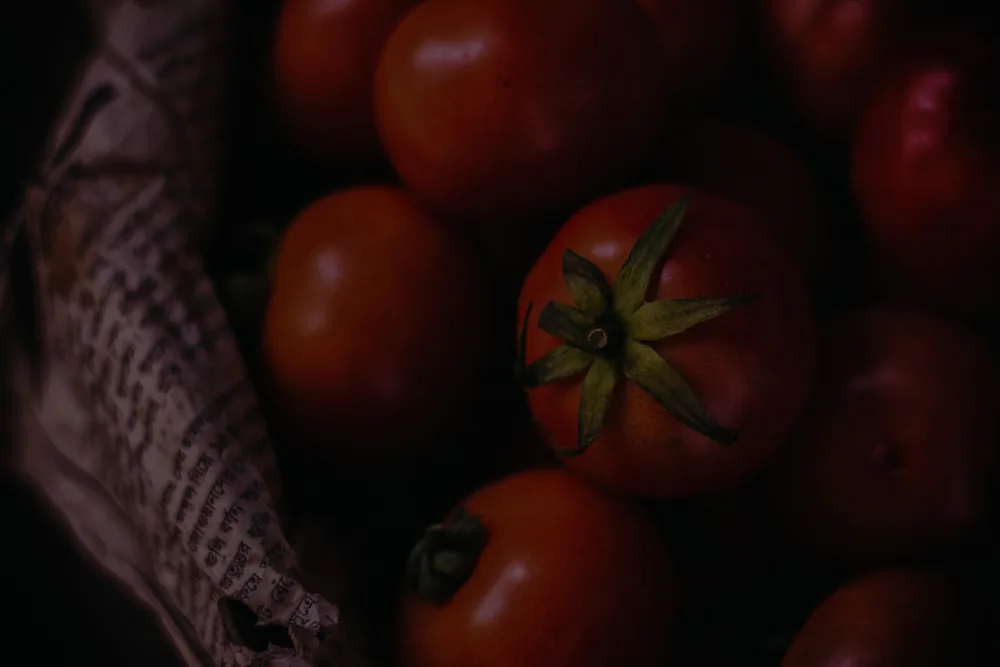
The amount of how much you increase the exposure on an underexposed picture will depend on your personal preferences and the image.
For example, I liked the darker look and feel to the picture of the tomatoes. Some images, you may want to give it a darker look, or with harsher shadows. It all really depends on your purpose and the picture. It is up to you the photographer to set the correct exposure on an underexposed image. For this particular
It all really depends on your purpose and the picture. It is up to you the photographer to set the correct exposure on an underexposed image. For this particular picture, it sets a good foundation to using some Lightroom presets.
Some images, you may want to give it a darker look, or with harsher shadows. It all really depends on your purpose and the picture. It is up to you the photographer to set the correct exposure on an underexposed image.
A fixed underexposed photo – example of the final result

So that’s how you fix your underexposed images in Lightroom! You can also do this easily with photoshop, but the benefit of Lightroom is it offers a much better workflow for general post production. You can sync many pictures at once when editing the exposure, for example.
It’s always best to capture a correctly exposed image in the first place. Sometimes this is easier said than done, especially when you are shooting in low light conditions. Sometimes, you simply forget to dial in the right settings.
In either case, all is not lost if you find yourself with a bunch of underexposed images. You can just open up Lightroom and make a few simple adjustments to fix your underexposed image. You can completely transform an underexposed, dark image, into a perfectly exposed image, especially if you shot the image in Raw.

Leave a Reply