Tips on Shooting in Low light
To get a correctly exposed image straight from your camera, you will need to change the ISO, Aperture Size, and the Shutter Speed. No matter your lighting conditions, you will be concocting the perfect synchronized settings between these 3 pillars of exposure.
If you want to learn how to shoot in low light, then you really need to understand the pillars of exposure, and when you can go too far in a particular setting.
For example, if you increase the ISO too much, you get too much noise. If you decrease the shutter speed too much, you can get a blurry photo. And if you make the aperture too big, you may not achieve the depth of field you were after.
It’s a dance between the three settings to get a perfectly exposed picture, especially when dealing with difficult low light situations.
Quick Tips: Low light photography settings
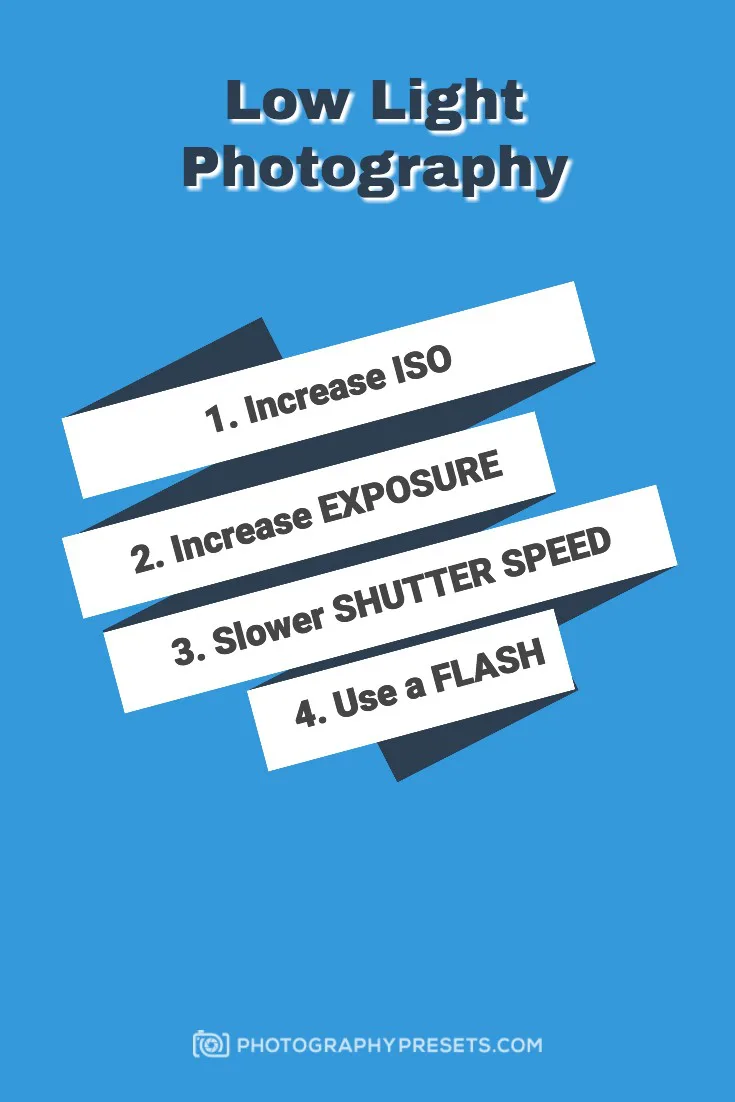
- Increase ISO: The higher your ISO, the more sensitive your camera is to light. Therefore, a higher ISO will result in a more correctly exposed image (more light). The drawback to ISO is if you go too high, it can cause more noise in your picture.
- Increase Aperture Size: If you increase the aperture size, more light can enter the camera to produce a properly exposed image in low light. Remember lower f stop number, so f/8 is a smaller aperture than f/1.4.
- Slow Down Shutter Speed: If you slow down the shutter speed in low light conditions, it will help you take a properly exposed picture. The reason is that the more time that light is exposed to the sensor of your camera, the more exposed the picture will be. Keep in mind that if you need to go slower than 1/60 of a second, you may need a tripod to prevent blurry photos.
- Use a Flash: You can use your camera’s flash in a pinch, but in general, you should invest in some external flashes or a Speedlight flash with a diffuser. This will do wonders to your images, especially in very low light situations, or when you don’t want to carry around a tripod.
- Shoot in RAW: If you shoot in RAW, you can easily fix underexposed photo with Lightroom. Though you can do the same if shooting in jpg, when shooting in RAW, you can pull out a lot more detail when editing. So if you have an underexposed RAW image from your camera, you can pull the exposure up quit a bit compared to if you were working with a jpeg.
- Use Exposure Compensation: This optional setting can help you create many versions of the same photo – for example, one underexposed image, one correctly exposed image, and one overexposed image. You can use this to compensate for any error in your cameras light sensors.
How to shoot in low light
One of the most frustrating things a photographer can encounter is shooting in low light situations and subsequently editing the shots taken.
If not handled properly, most photos will be blurred, unfocused, or underexposed. Whether you are shooting for work or for leisure, a lot of events you’ll be interested in shooting will have indoor locations.
This means you’ll have little to no natural light to use. Indoor locations leave you with only artificial light to use, which, in most cases, is not enough. That’s why it’s important to both know how to shoot in low light areas (with whatever equipment you bring) and how to retouch them during post-processing.
ISO Settings for Low light
Whatever equipment you might bring when shooting low light areas, there are universal guides and tricks that will be able to help you in almost all cases. To combat the low light situations, the first thing you want to do is bump up the ISO on your camera.
ISO can be described as simply the sensitivity of the camera to the light around it. This the setting on your camera that increases the sensor’s sensitivity to light.
If you are using a digital camera, like most people are nowadays, it mimics the sensitivity of the actual film on old film cameras. Before you had to buy a certain level of ISO film. Now you can bump up the ISO on the fly!
The higher your ISO, the more sensitive your camera’s sensor will be to light. The end result is a more correctly exposed picture.
The lower the ISO setting is, the less sensitive it is. This means it won’t capture a lot of light. Increasing it means more light will be captured, which is great because you’ll want the shot to take up as much light as it can.
Leaving the aperture and shutter speed untouched, increasing the ISO will make your shots less susceptible to blur and underexposure. Just make sure that the setting is not racked up too high because your pictures will appear too grainy. A decent rule of thumb is not letting the ISO setting go above 2000.
One drawback to increasing ISO is it can cause extra noise (grainy appearance) in your pictures. Depending on the quality of your camera, some cameras may produce more noise than other cameras at the same ISO setting. So your iso sensitivity depends largely on your camera body.
Aperture Settings for Low light
Adjusting your aperture is also an option to produce a correctly exposed picture in low light areas.
To clear up confusion there are two ways to explain adjusting aperture:
- Decreasing the aperture setting: If you decrease the aperture number, it enlarges the opening of the lens when you take a shot. This means more light will enter to give exposure. It also means that the depth of field will be smaller, resulting in blurred backgrounds.
- Increasing the aperture: If you increase the aperture, it enlarges the opening of the lens when you take a shot. The larger your aperture, the more light can enter the lens to then expose the sensor.
These two ways of explaining aperture are the same. Typically though, if you hear people talk about an aperture that is “wide-open” or picking a “smaller aperture” – they are referring to the actual physical size of the aperture.
So, when I say large aperture, I am referring to the actual size of the aperture. The aperture is a hole or opening for the sensor of your camera’s body.
The larger the hole, the more light will be able to enter your camera body and produce a properly exposed image. Remember that the larger the aperture the smaller the number will be shown on your camera (i.e f/8 is smaller aperture than f/1.4). It’s an inverse relationship.
Shutter Speed Settings for Low light
Decreasing the shutter speed will give the same effect that increasing ISO will do but in a different manner. Decreasing the shutter speed will mean the shot will be exposed longer, letting more light come in and brighten up the picture. And just like ISO, adjusting the settings for shutter speed can be very tricky as well. A shutter speed that’s too long can result in a blurred photo caused by either the subject or your camera moving.
If you have a slower shutter speed, there is more time that the light can expose the sensor. So keep your shutter speed at a lower speed. Depending on how dark it is, you may want to use a tripod.
When you need a tripod for low light photography
The reason is that if you try to shoot lower than 1/60 of a second, there’s a real chance of you getting a blurry image. Most people can’t hold their hands still enough to shoot any slower than 1/60 of a second, so this has become the general rule of thumb among photographers.
With that said, there are many pros who can shoot lower, especially if they prop their shoulder against something sturdy like a tree or car.
Let’s say you already bumped up your ISO as far as it can go without distorting your image. You also increased the aperture size as far as you can. Now you get to 1/60 of a second for your shutter speed. If you are still getting underexposed images at this point, you will likely need a tripod so you can decrease the shutter speed further.
So if you know you are going to be shooting in low light, you should always bring a tripod with you incase you need it.
Flash for Low light photography
Obviously a flash can help tremendously in low light situations. However, to create a great image, you shouldn’t be using your camera’s built in flash. In a tight spot, you may be able to get some great images with the built in flash. In general though, the flash can be much too harsh. It can also make the image look flat and unnatural. In the end, it doesn’t result in the best image.
Since photography really is all about the artistic eye, lighting, composition and your lense, lighting is usually a major part of a good image. So you want to get this right.
Ideally, you will use natural light, but if your environment is dark, you may need to invest in some external lights or diffusers. Even a cheap light diffuser on top of a Speedlight camera flash can do wonders over your camera’s built in flash.
You can also invest in some off camera flashes, lights, diffusers or reflectors to create natural looking lights in low light situations.
Shoot in RAW for your low light photography (actually, ALWAYS shoot RAW)
You should always shoot in RAW. This is especially the case in low light photography when you might need to do some post production in Lightroom to fix your underexposed images. You can pull out a LOT more information when editing photos that are in RAW, compared to in jpg.
If you are serious about your photography, you should always shoot in RAW. The only disadvantage is to RAW is the file size. However, with how cheap storage is nowadays, this shouldn’t be as much of an issue as it used to be.
Use Exposure Compensation for low light (Optional)
This is a more (optional) and maybe an advanced setting. It’s not as easy to dial in as your other 3 pillars of exposure.
Most beginner photographers probably won’t touch this setting. Even intermediate and advanced photographers may not use this setting much unless shooting HDR photos.
In either case, it could come in handy to create properly exposed images in low light environments. It varies up the exposure of the images. For example, you can set your camera to take one under exposed image, one correctly exposed image, and one overexposed image with every push of your camera’s button.
This can come in handy, especially if your camera’s natural sensors misjudged the lighting or your own judgment is not correct.
Consult the user manual or look up online how to change this setting for your particular camera.
How to shoot in the worst low light conditions
Sometimes even if you adjusted your ISO, shutter speed, and aperture, you’ll still get blurred or underexposed shots. If this happens, external equipment (flash, tripods, monopods) can give you an extremely easier time. This might not always be the case, so post-processing will be your next best friend.
We’ll be looking at how to use Lightroom to save those underexposed or even some blurred photos. Take note that not all underexposed and blurred photos show in low light situations will be salvageable. It’s still best to adjust your camera to the best possible settings before settling for post-processing.
Low light photography post production in Lightroom
Post Production Exposure settings for low light photography
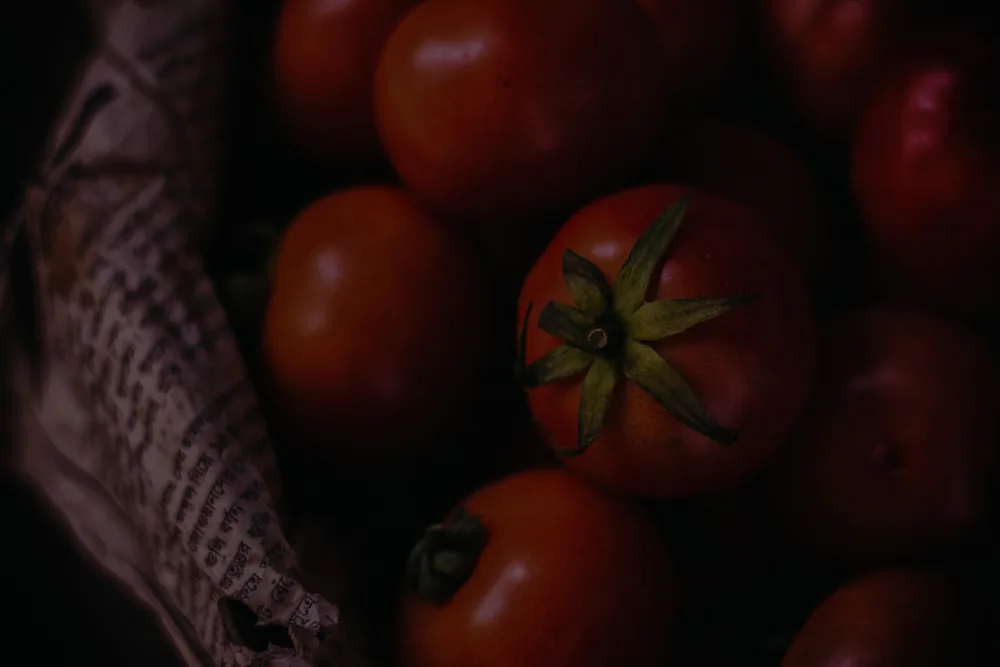
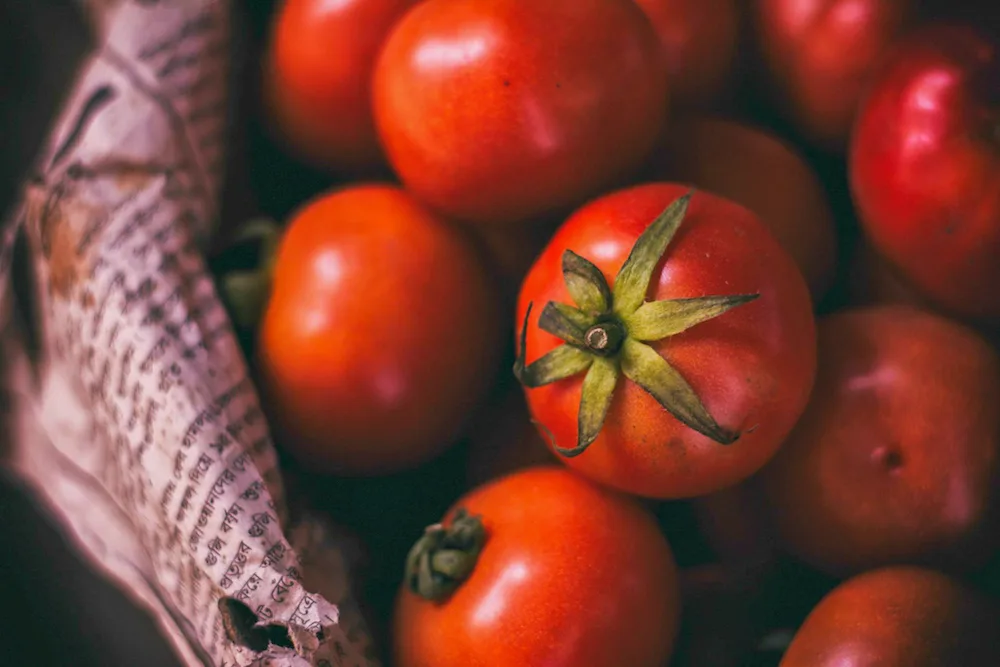
Another major thing you can do is to fix the exposure and white balance of the shot. For exposure, the most obvious thing to do is increase the exposure bar.
But this might not be a bulletproof solution because dragging the exposure too high might overexpose some areas of the shot. To have a better increase in balance, you can also equally decrease highlights and increase shadows. This ensures that the lighter areas won’t be prone to overexposure and the darker areas won’t be underexposed.
White Balance for low light photography
The last thing you can do is to adjust the white balance. Because of the absence of natural light, you will be exposed to different kinds of light with varying temperatures, and this can make your photo look bad.
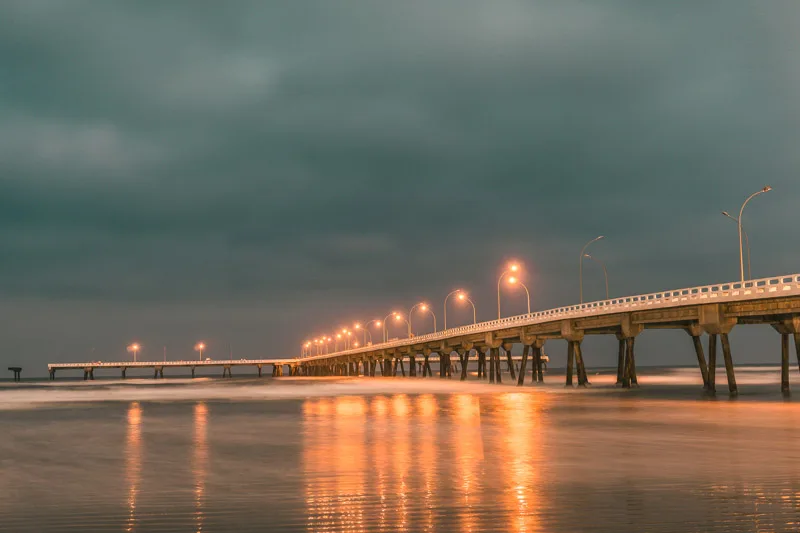
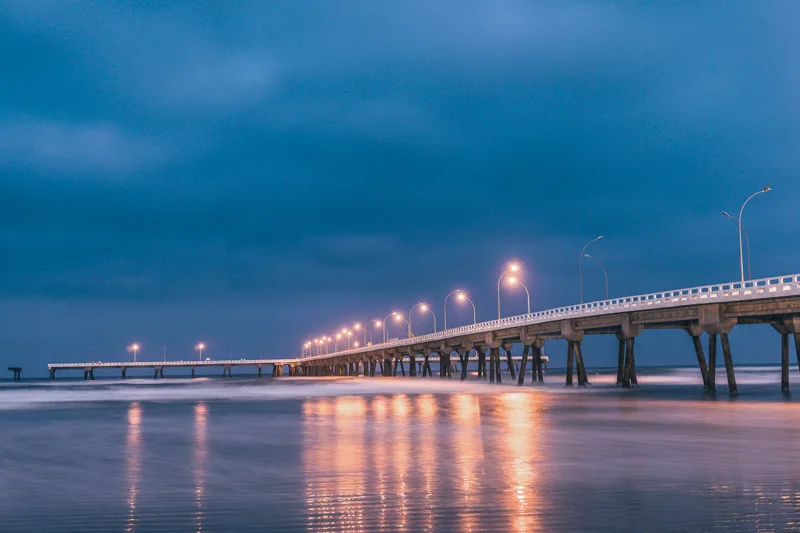
An example would be a photo taken under yellow street lights. The yellow shade of the light will make the photo and the subject look too warm. Adjusting the white balance will make the photo look more realistic and better overall. Decrease the temperature if the photo was exposed to too much warm light (yellow, orange, red, etc.). Increase the temperature if there was more white or bluish light.
Final Low Light Photography Tips
Remember that while post-processing the photos in Lightroom can greatly enhance the quality of the photos, it’s still better to get the best possible shot during the event before settling for post-processing. In any case, you’ve read about better shooting during events and post-processing after so now you’ll be prepared to handle many different situations regarding low light photography.
And remember to shoot in RAW, so you have more to work with in your post production efforts!

Leave a Reply